
EUGENE G DANNER MANUFACTURING
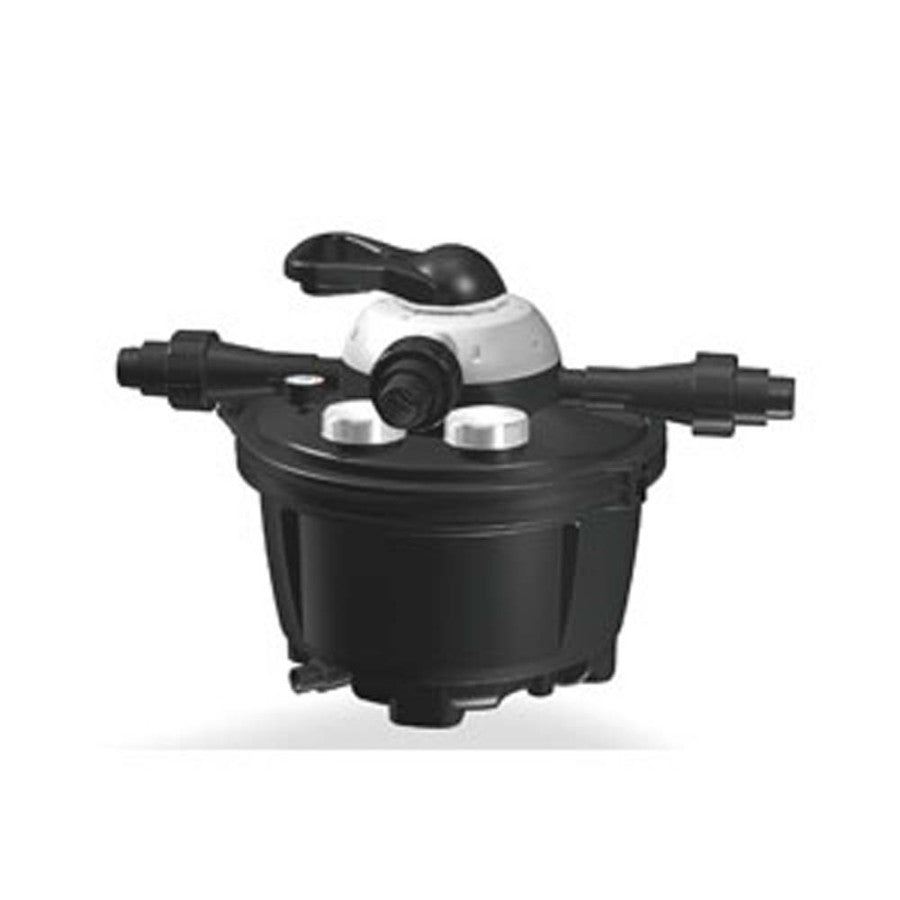
Danner Clearguard 2700 Pressurized Pond Filter with UV Clarifier
SKU: PT0172505615Black, 1ea/2.7 W
Regular price
$535.98 USD
Regular price
$428.38 USD
Sale price
$535.98 USD
Unit price
per
Couldn't load pickup availability
Finally a great filtration at an affordable price. Easy to use and versatile with 7 functions; filter, backwash, rinse, winterize, empty, circulate and close. Reusable pad removes fine debris and polishes water fast. Combination of biological and mechanical media for maximum water clarity and healthier ponds. Available with or without UV Clarifier. Separate UV clarifiers are offered in 9W and 18W sizes. Can be used for replacement and upgrading. Includes both slip and barbed fittings. The recommended water pump size for the Clearguard 2.7 is up to 3,000GPH.
Dimension
Dimension
- Product Gross Weight: 18.5000 lb
- Product Net Weight: 18.5000 lb
- Product Height: 17.50 in
- Product Length: 17.00 in
- Product Width: 19.00 in
- Capacity: 2700 Gallons
- Pump Included?: No
- Recommended For: Pond
Instruction
Instruction
- Use Instructions: 1) Put the valve to position 1 FILTER''. 2) Turn on pump and check all connections. Check that pressure gauge pointer is in the Green zone. Run filter with Foam Filter pad and Biomatrix Ball media at first.The Biomatrix Ball media works best when the filter's bacteria colonies are established. It takes a few weeks for the bacterial colonies to grow on the media and be effective for filtration. During the waiting period for biological filtration, the filter pad will collect debris and mechanically filter the water without disrupting the growing biological colony. If water flow becomes sluggish, the foam filter pad may have accumulated too much debris and should be removed, rinsed and replaced into filter. It may be necessary to do this several times until the biological filtration is established. After a few weeks the filter pad can be removed, rinsed and set aside for future use. It can be used anytime the pond is stirred up or appears to be cloudy.3) A backwash schedule should be established to maintain the bacteria colony level on the biomatrix ball media. This should be done every few weeks depending on your pond conditions. Bio load, sunlight, temperature and feeding habits all affect the need for backwash. The best way to tell when to backwash is to monitor water flow rate and the pressure gauge. If water flow rate diminishes or if the gauge indicator has moved to the top or past the green zone it is time to backwash. The backwash alone may not dislodge heavy bacteria colonies; it may be necessary to open the filter and stir up the Biomatrix media before backwashing. Note that for a more substantial power backwash, the Pond master Backwash Air kit can be attached to the drain valve to force air through the media releasing the excess waste.REMOVING and REPLACING COVER: Cover can be removed to perform filter maintenance. Follow these steps: 1) Turn off power to pump and UV units.2) Disconnect hoses that are attached to the cover.3) Always lift cover straight upwards after removing clamp.4) Place cover down carefully; UV quartz sleeves and flow diffuser protrude from the bottom of the cover.5) Always make certain that 0-Ring and track are clean and lubricated.6) Align Tab & Notch and Place cover straight down - - DO NOT TWIST OR THE 0-RING/GASKET MAY UNSEAT.7) Reattach clamp.8) Reattach hoses.9) Turn on power. Always check cover fit and hose connections before leaving unattended.Backwash Cycle:To run a backwash cycle:1) Turn off Pump.2) Check that waste hose is properly directing waste water to a dry well or garden area.3) Set valve to #4 BACKWASH and run the pump for a few minutes.4) Turn off pump.5) Set valve to position 2 RINSE.6) Turn on pump for 20-30 seconds.7) Turn off pump 8) Reset the valve to position 1FILTER.9) Turn on pump. 10) Repeat Backwash. Multiple backwash cycles may be needed. NOTE: If filter media is extremely clogged, it may be necessary to open the filter and manually stir up the media to loosen excess waste before back washing.To run a backwash cycle:1) Turn off Pump.2) Check that waste hose is properly directing waste water to a dry well or garden area.3) Set valve to #4 BACKWASH and run the pump for a few minutes. 4) Turn off pump.5) Set valve to position 2 RINSE.6) Turn on pump for 20-30 seconds.7) Turn off pump.8) Reset the valve to position 1FILTER.9) Turn on pump.10) Repeat Backwash. Multiple backwash cycles may be needed. NOTE: If filter media is extremely clogged, it may be necessary to open the filter and manually stir up the media to loosen excess waste before back washing.USING THE PRESSURE GAUGE: The Pressure Gauge should be checked the first time the pump is turned on. The pointer should be in the green zone to ensure that the installation is correct. The Gauge should not solely be relied upon to indicate the need for a backwash. Always monitor water flow and water clarity to determine when backwashing is necessary. If reading on gauge is ever in RED zone, turn off the pump and check for the cause of the excessive back-pressure. Do not run the filter when the pointer is in the red zone.
Specifications
Specifications
- Compatible With: Water Pumps Up to 3000 GPH
- Pressure: 103.42 kPa