
AQUACULTURE TECHNOLOGIES INC
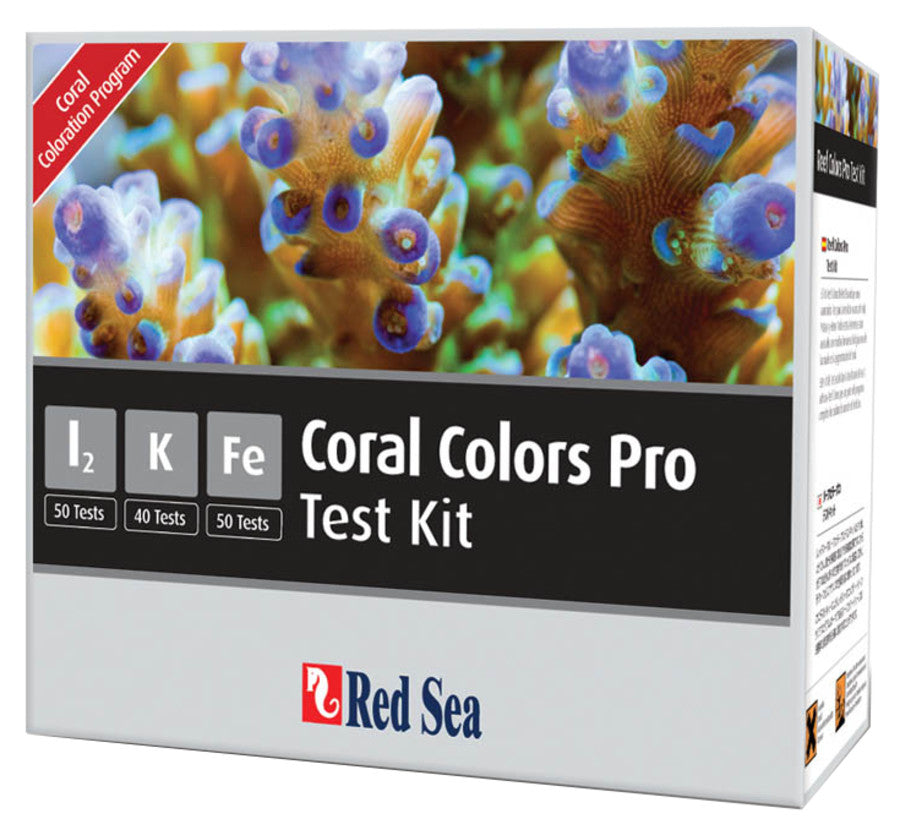
Red Sea Coral Colors Pro Test Kit
SKU: PT01633215151ea
Regular price
$75.03 USD
Regular price
$59.63 USD
Sale price
$75.03 USD
Unit price
per
Couldn't load pickup availability
Reef Colors Pro is an high definition analytical Multi Test kit (I2 - 50 testsK - 40 testsFe - 50 tests) for accurate dosing of Reef Colors supplements.
- Includes: 50 Iodine tests, 40 Potassium tests, and 50 Iron tests
Dimension
Dimension
- Product Gross Weight: 1.4600 lb
- Product Net Weight: 1.4600 lb
- Product Height: 5.55 in
- Product Length: 2.95 in
- Product Width: 6.57 in
Instruction
Instruction
- Use Instructions: Directions for Iodine Pro Test Kit1. Rinse the vial marked “standard” & syringe with RO or distilled water and dry thoroughly.2. Using the syringe provided, place exactly 5 ml of RO water into the standard vial, close the vial firmly with the cap and place the vial into the aquarium for 10 minutes to allow the water in the vial to reach the temperature of the aquarium water.3. After 10 min. take the standard vial out of the aquarium and add 1 level measuring spoon of Iodine standard 0.06 ppm powder. Close the vial with the cap and shake until the powder is fully dissolved.4. Using the syringe provided, place exactly 5 ml of the water to be tested into the other vial (sample vial).5. Add 5 drops of Iodine Pro Reagent A to both the sample and standard vials.6. Add 8 drops of Iodine Pro Reagent B to both the sample and standard vials.7. Stand both of the vials in their designated positions on the color card.8. The standard vial acts as a timer for the reaction. Check the color of the water in the standard vial by looking into the vial from above and watch to see when thecolor in the standard vial matches the color of 0.06 ppm on the color card. This is the end point of the test reaction, which will take approximately 5 – 15 minutes for an aquarium at 25°C (77°F). The warmer the water the quicker the reaction.9. When the end point of the test reaction has been reached look into the sample vial from above and compare the color in the vial to the colors on the card andchoose the Iodine level that gives the closest color match. If necessary, estimate an intermediate value.10. The color in the sample vial will remain stable for 5 minutes. Do not relate to the color in the sample vial after this time.Directions for Iron Pro Test Kit:1. Using the syringe provided, place exactly 17 ml of the water to be tested into the glass vial.2. Add a leveled measuring spoon of Iron Pro Reagent A, close the vial with the cap and shake for 15 seconds.3. Add 6 drops of Iron Pro Reagent B, close the vial with the cap and shake for 15 seconds.4. Wait 15 minutes for the color in the vial to stabilize.5. Move the vial between the designated positions on the color card, look into the vial from above and compare the color in the vial to the colors on the card. Choosethe Iron level that gives the closest color match and if necessary estimate an intermediate value.6. The color in the reaction vial will remain stable for 5 minutes. Do not relate to the color in the reaction vial after this time.Directions for Potassium Pro Test Kit:1. Prepare the filtration kit as follows:a. Lay a clean dry filter paper above the funnelb. Place the top cylinder on the filter paper and push down, trapping the filter paper between the cylinder and the funnelc. Place the assembled filter onto the filter cup2. Using the large syringe provided, place exactly 2 ml of the water to be tested into one of the glass vials.3. Add exactly 3ml of RO or distilled water to the 2 ml water sample.4. Add 4 drops of Potassium Pro Reagent A, close the vial with the cap and shake for 15 seconds.5. Using the 1ml syringe provided, add exactly 0.5ml of Potassium Pro Reagent B to the vial, close with the cap and shake for 15 seconds.6. Wait for 10 minutes (use a stopwatch) and then pour all of liquid from the glass vial into the top of the filter.7. Wait (approx. 7 minutes) until at least 3ml of clear liquid has collected in the filter cup (above the line), remove the filter and dispose of any remaining liquid. Usingthe 5ml syringe take exactly 3ml of the filtered clear liquid from the filter cup and put it into the 2nd glass vial.8. Add 2 drops of Potassium Pro Reagent C and mix gently. The test sample will now have the titration start color as shown on the instruction card.9. Ensure that the dispensing tip is on the 1 ml titration syringe and fill with 0.5 ml of Potassium Pro Titrant (D).Note for filling the 1ml titration syringe: Raise the plunger of the syringe until the bottom ring of the plunger (see arrow in diagram) is at the 0.5 ml mark. The surface of the liquid will be approximately 0.1 – 0.15 ml below the plunger. Do not try to remove the air trapped between the liquid and the plunger. This small volume of air corresponds to the liquid held inside the plastic tip.10. Insert the syringe into the center of the Titrator so that the volumetric scale on the side of the syringe is visible. The graduations of the volumetric scale are 0.01 ml, equivalent to 3 ppm of potassium.11. Screw the glass vial onto the bottom of the Titrator.12. Add one drop at a time of Potassium Pro Titrant (D) by pressing the plunger of the syringe and gently swirling after each drop, until the end color is achieved. Pay careful attention to the color of the test sample from the addition of the first drop.Note: The amount of titrant used is inversely proportional to the level of potassium in the aquarium water sample. If you reach the end color on adding the first drop the potassium level is 467 ppm or above.13. Note the amount of titrant used (according to the initial and final position of the plunger not the liquid surface) and use the table to calculate the level ofpotassium in the water sample.14. Dispose of any unused quantity of titrant. Rinse all syringes, glass vials and filter kit with RO or distilled water before storing.15. Filter papers are for single use only and cannot be reused.