
ZOO MED LABORATORIES INC
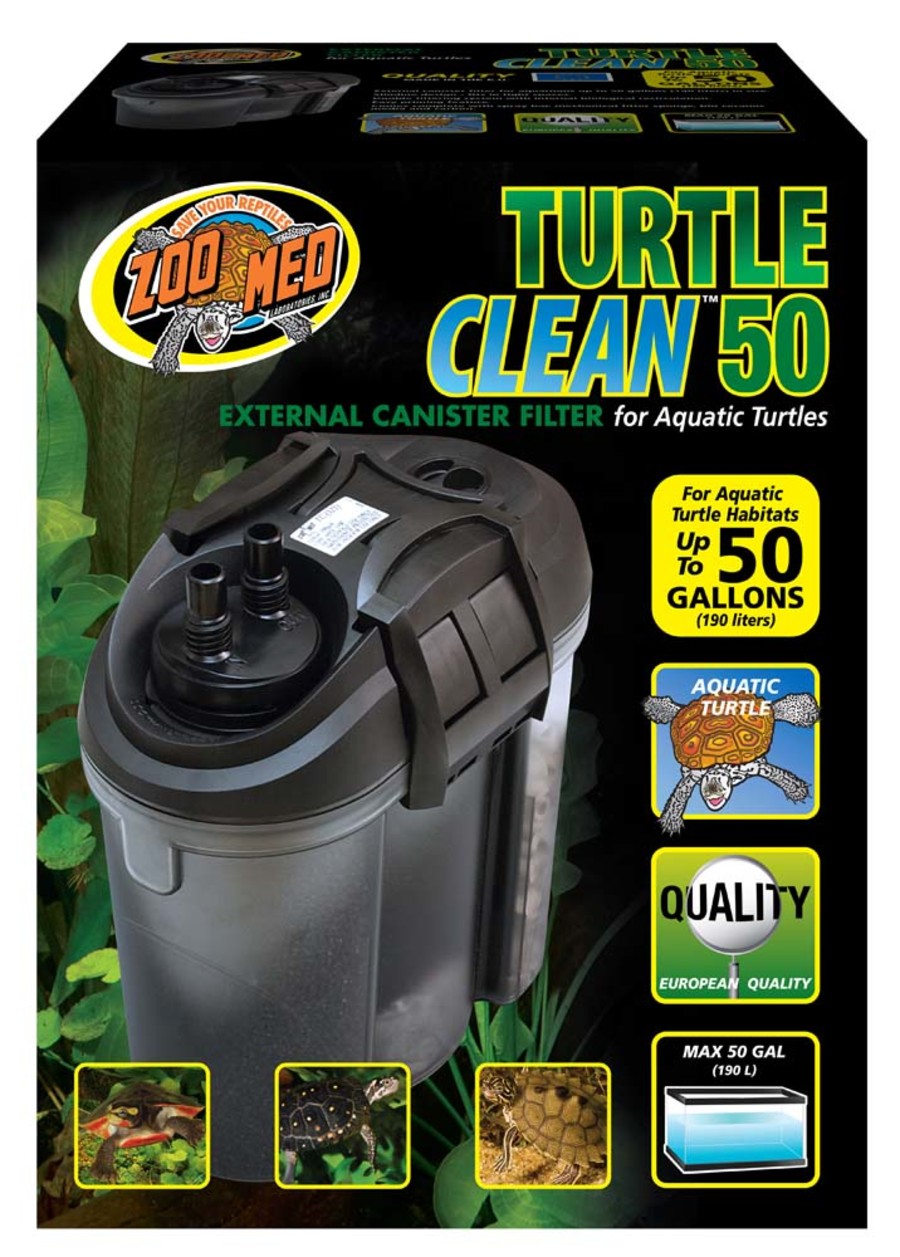
Zoo Med Turtle Clean 50 External Canister Filter
SKU: PT01850023501ea
Regular price
$144.65 USD
Regular price
$140.63 USD
Sale price
$144.65 USD
Unit price
per
Couldn't load pickup availability
Zoo Med's Turtle Clean 50 External Canister Filter is for turtle habitats up to 50 gallons (190 liters) in size. Slimline design fits in tight spaces. Double filtering system with internal biological recirculation. Easy priming feature. Combines mechanical, biological and chemical filtration. Included spray bar to increase oxygenation.
Dimension
Dimension
- Product Gross Weight: 9.1500 lb
- Product Net Weight: 9.1500 lb
- Product Height: 9.50 in
- Product Length: 14.50 in
- Product Width: 11.13 in
Instruction
Instruction
- Use Instructions: 1. Attach the adapter (V) to the intake strainer (H), and insert one end of the intake tube (N) into the end of the adapter (V). Mount the two clips to the suction cups (G), and attach the clips to the intake tube (N). Thread the screw nut (E) onto the hard elbow unit (I), and insert the other end of the intake tube (N) into the hard elbow unit.2. Mount the rubber elbow (M) onto the other hard elbow unit (I), and assemble the spray bar (P), or the flow diverter (L) according to your needs. If using the spray bar (P), insert the clear plastic plug (J) into the end of the spray bar, and attach the bar securely to the tank wall with two clips and suction cups (G). Attach the remaining clip and suction cup (G) to the hard elbow unit (I), allowing the hard elbow unit on the outlet side to be secured to the tank. Thread the screw nuts (E) onto the outlet side hard elbow unit. Thread the remaining screw nuts (E) to the IN/OUT nozzles of the hose connecting device. Clean the wall of your turtle’s tank and attach the intake and outlet units.3. Insert the four rubber feet (W) into the holes on the bottom of the filter canister (A). Open the filter by releasing the clips on the filter head (K) from aboveand pulling them outward. When the clips are pulled completely outward, the filter head will lift off of the filter canister (A) slightly and disengage from its seat. Rinse the Activated Carbon Bag (X) under running water and insert it into the empty side of the filter canister (A). Note: Do not open the activated carbon bag. Remove the ceramic media (Q) from the plastic bag, rinse under running water, and add to the filter canister on top of the carbon bag. Note: Do not overfill with ceramic media or you will not be able to reattach the filter head. Save any remaining ceramic media for future use. Reattach the filter head (K), making sure that the fill cap (F) is above the side with the ceramic media (Q), and the hose connecting device (U) is above the side with the coarse sponge (B1).5. Press the filter head back onto the filter canister (A), and latch the two clips by hooking them onto the filter canister and pressing inward until you hear them “snap” into place. Unscrew the fill cap (F) by turning it counter clockwise as shown by the arrows on the cap. Fill the canister completely with dechlorinated water.6. Replace the fill cap, making sure that it locks in place and that the cap is in the locked position. If not locked in place, your filter may not operate properly.7. Push the intake and outlet tubing (R) onto the hard elbow units (I) and lock them with the screw nuts.8. Turn the screw nuts (E) on the hose connecting device (U) clockwise until they will not turn anymore. Then push the intake and outlet tubes onto the nozzles, making sure that the intake tube is on the side labeled “IN” and the outlet tube is on the side labeled “OUT.” Lock the tubes in place by turning the screw nuts counter-clockwise back over the tubes.9. Place the filter on a flat surface next to the turtle’s tank, making sure that the hoses are not kinked. Be sure that the filter is at the same level of the tank (not below the tank). Do not lay the filter on its side.10. Make sure that the filter canister is completely full of water, and that the hoses are connected properly to avoid leaks. Check to make sure that the orange flow control adjustment devices (on the intake and outlet hard elbow units (I) are set to “MAX.” Be sure that the water level in the tank is at least high enough to completely cover the intake strainer (H). Note: The lower the water level is in the tank, the harder it is for the filter to start. Plug the filter into a GFCI protected outlet (Ground Fault Circuit Interrupter) to prevent against shock. Make sure that the cord forms a “drip loop.11. If everything is connected properly, the filter will begin to draw water up the intake tube and water will begin flowing out of the spray bar (or flow diverter). You may hear some noises upon startup that will disappear after all of the air is out of the system. It may take a few minutes for all of the air to exit the system before the filter flows at maximum capacity.12. If the filter has trouble starting, unplug it and check to make sure that the canister is completely full of water. If not completely full, remove the fill cap and add more dechlorinated water. Replace the cap and plug the filter back into the outlet. If the filter still has trouble starting, contact customer service.
Safety
Safety
- Safety Warnings: To avoid possible electric shock, special care should be taken since water is employed in the use of aquarium equipment. For each of the following situations, do not attempt repairs by yourself; return the appliance to an authorized service facility for service or discard the appliance:1. If the appliance falls into the water, DON’T reach for it! First unplug it and then retrieve it. If electrical components of the appliance get wet, unplug the appliance immediately.2. Carefully examine the appliance after installation. It should not be plugged in if there is water on parts not intended to be wet.3. Do not operate any appliance if it has a damaged cord or plug, or if it is malfunctioning or has been dropped or damaged in any manner.4. To avoid the possibility of the appliance plug or receptacle getting wet, position tank/aquarium stand and tank to one side of a wall-mounted receptacle to prevent water from dripping onto the receptacle or plug. A “drip loop”, should be arranged by the user for each cord connecting an aquariumappliance to a receptacle. The “drip loop” is that part of the cord below the level of the receptacle, or the connector if an extension cord is used, to prevent water from traveling along the cord and coming in contact with the receptacle. If the plug or receptacle does get wet, DON’T unplug the cord. Disconnect the fuse or circuit breaker that supplies power to the appliance. Then, unplug and examine for presence of water in the receptacle.5. Close supervision is necessary when any appliance is used by or near children.6. To avoid injury, do not contact moving parts or hot parts such as heaters, reflectors, lamp bulbs, and the like.7. Always unplug an appliance from an outlet when not in use, before putting on or taking off parts, and before cleaning. Never yank cord to pull plug from outlet. Grasp the plug and pull to disconnect.8. Do not use an appliance for other than intended use. The use of attachments not recommended or sold by the appliance manufacturer may cause an unsafe condition. Do not install or store the appliance where it will be exposed to the weather or to temperatures below freezing.9. For indoor use only, for aquarium/vivarium use only.10. Make sure an appliance mounted on a tank is securely installed before operating it.11. Read and observe all the important notices on the appliance.12. If an extension cord is necessary, a cord with a proper rating should be used. A cord rated for less amperes or watts than the appliance rating may overheat. Care should be taken to arrange the cord so that it will not be tripped over or pulled.
Specifications
Specifications
- Compatible Tank size: 50 Gallons
- Filter Types: Biological; Chemical; Mechanical
- GPH: 200 Gallons