LIFETIME PRODUCTS LLC
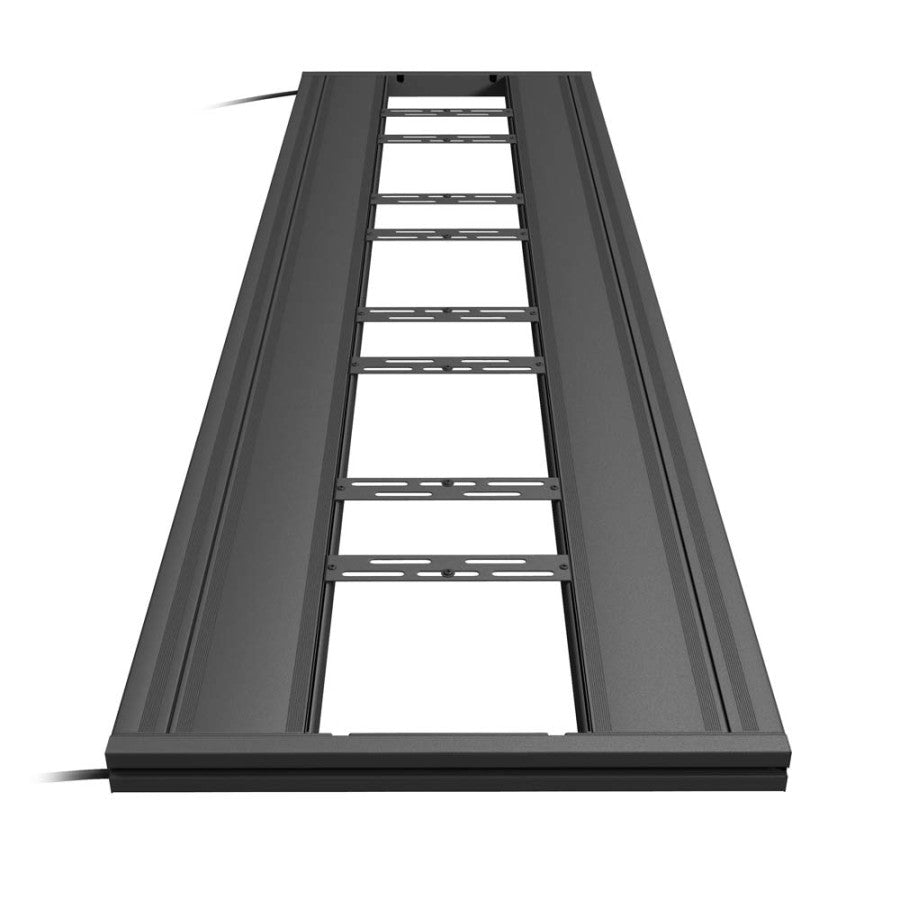
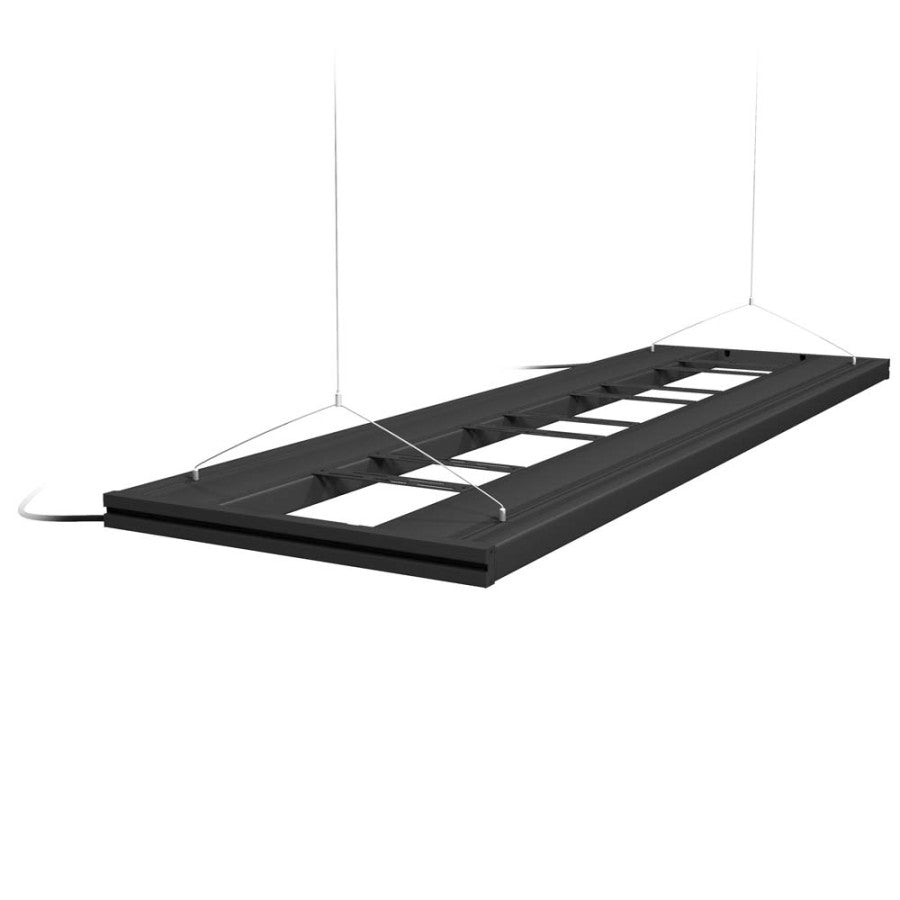
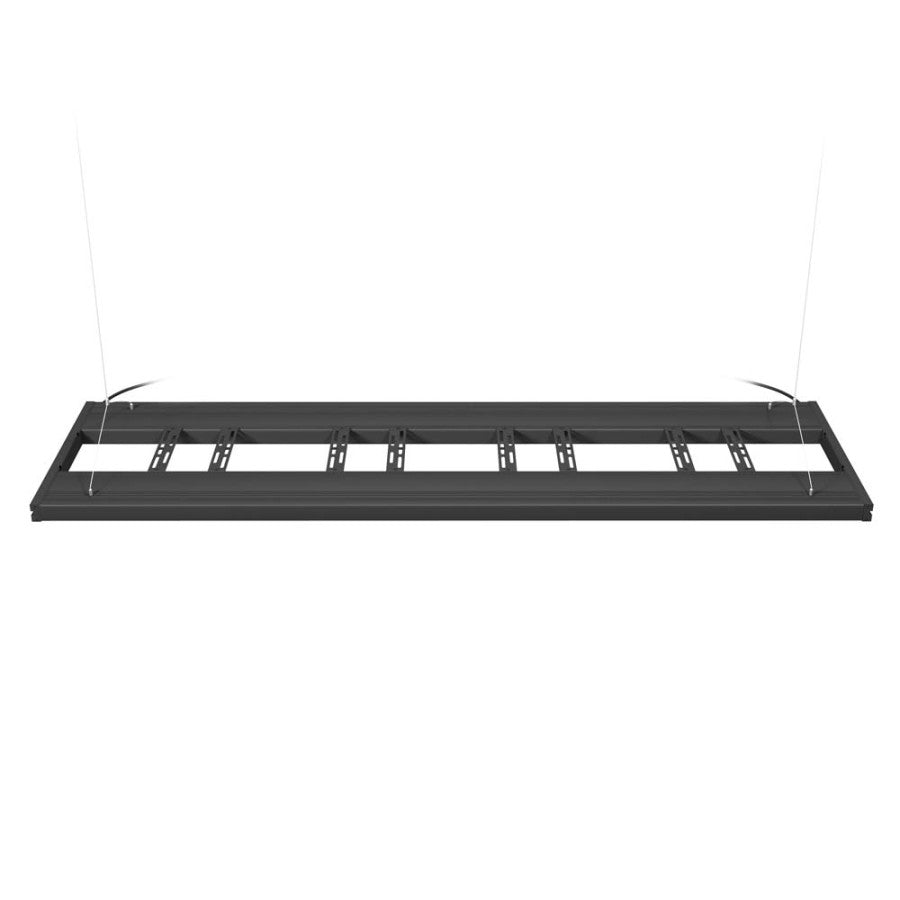
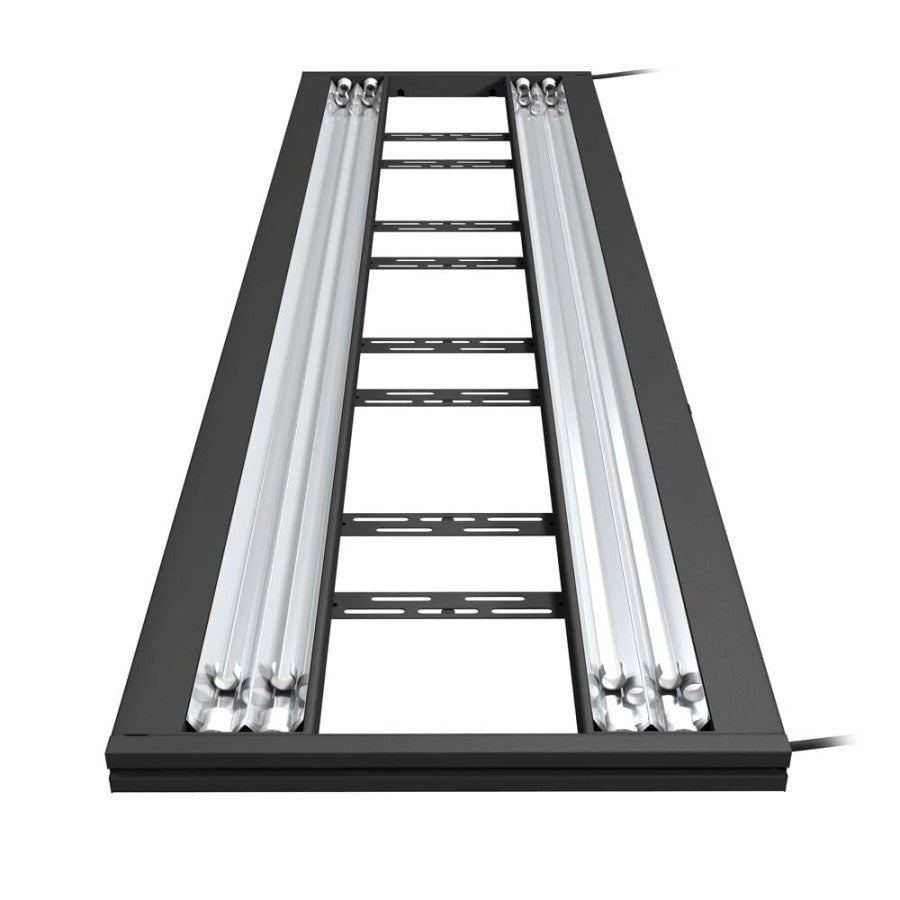
Aquatic Life G2 T5 HO Hybrid 4-Lamp Mounting System Fixture
SKU: PT0145801619Black, 1ea/61 in
Regular price
$601.95 USD
Regular price
$481.16 USD
Sale price
$601.95 USD
Unit price
per
Couldn't load pickup availability
Aquatic Life T5 HO Hybrid 4-Lamp Mounting System Fixture. Available in 24, 36, 48 and 61 lengths for 18-24 wide (front to back) aquariums. Universal mounts included for EcoTech Radion (TM) and AI Hydra & AI Prime (TM) LED Fixtures. This new mounting system with T5 HO lamp housings is for use with the EcoTech Radion and Aqua Illumination Prime LED fixtures, and includes universal mounting brackets to install them into the fixture.
Dimension
Dimension
- Product Gross Weight: 20.0000 lb
- Product Net Weight: 20.0000 lb
- Product Height: 6.25 in
- Product Length: 63.00 in
- Product Width: 7.00 in
Instruction
Instruction
- Assembly Instructions: Step 1 - Lay the two fixtures on a surface that won’t scratch the finish. Power cords should be positioned on opposite sides and the power cords should be closest to the outside of the fixture as pictured.Step 2 - Slide the suspension hardware into the channels on each fixture. Step 3 - Attach the metal endplate to each side of the fixture using the longest screws. The metal endplates have a cutout to go around the power cord on each side of the fixture. The endplates also have additional holes that are larger and designed to go over the screws pre-installed on the ends of the fixture housings.Step 4 - Install the bracket needed to mount your LED fixture between the two T5HO fixture housings. The brackets will rest in the channels on the fixture housings and are then secured in place with the shortest screws. Step 5 - Remove the reflector protective film and install the T5HO Lamps of your choice into the silicone end caps. Secure the lamps with the clip at the end of each lamp.Step 6 - Install your LED fixture onto one or several of the LED brackets. The rectangular bracket has multiple slots where a screw can pass through to secure the LED fixture.Step 7 - IMPORTANT: Before installing the Decor End cap, thread each of the outer sheet metal screws into the holes in the new metal endplate. When thescrews are halfway into the hole, remove them for next step.Step 8 - Place the fixture power cord in the lower channel and the LED cords in the upper channel of the decor end cap. The LED cords will route through the “U” cutouts on top of the endplate.Step 9 - Position the decor end cap over the four open holes on the new endplate.Step 10 - Using the metal (pointed) screws, attach the end cap using the two outer holes. Place the non-pointed screws in the two middle holes and secure with nuts.Step 11 - Repeat steps for other end of fixture.Step 12 - Create a loop at the top of the cables and secure the cable by tightening the screws. Suspend the fixture safely above the aquarium.Step 13 - To loosen the wire pulled through the adjustment hardware, press the small button that is positioned around the wire at the top of the hardware. Gently pull down on the adjustment hardware until the fixture is back to where originally measured.
Safety
Safety
- Caution: For household use only
- Safety Warnings: A) Read and follow all safety instructions.B) DANGER - To avoid possible electric shock, special care should be taken since water is employed in the use of aquarium equipment. For each of the following situations, do not attempt repairs by yourself; return the appliance to an authorized service facility for service or discard the appliance:1) If the appliance falls into the water, DON’T reach for it! First unplug it and then retrieve it. If electrical components of the appliance get wet, unplug the appliance immediately. (Non-immersible equipment only)2) If the appliance shows any sign of abnormal water leakage, immediately unplug it from the power source. (Immersible equipment only)3) Carefully examine the appliance after installation. It should not be plugged in if there is water on parts not intended to be wet.4) Do not operate any appliance if it has a damaged cord or plug, or if it is malfunctioning or has been dropped or damaged in any manner.5) To avoid the possibility of the appliance plug or receptacle getting wet, position aquarium stand and tank to one side of a wall-mounted receptacle to prevent water from dripping onto the receptacle or plug. A “drip loop,” shown in the figure to the left, should be arranged by the user for each cord connecting an aquarium appliance to a receptacle. The “drip loop” is that part of the cord below the level of the receptacle, or the connector if an extension cord is used, to prevent water traveling along the cord and coming in contact with the receptacle. If the plug or receptacle does get wet, DON’T unplug the cord. Disconnect the fuse or circuit breaker that supplies power to the appliance. Then, unplug and examine for presence of water in the receptacle.C) Close supervision is necessary when any appliance is used by or near children.D) To avoid injury, do not contact moving parts or hot parts such as heaters, reflectors, lamp bulbs, and the like.E) Always unplug an appliance from an outlet when not in use, before putting on or taking off parts, and before cleaning. Never yank the cord to pull the plug from outlet. Grasp the plug and pull to disconnect.F) Do not use an appliance for other than intended use. The use of attachments not recommended or sold by the appliance manufacturer may cause an unsafe condition.G) Do not install or store the appliance where it will be exposed to the weather or to temperatures below freezing.H) Make sure an appliance mounted on a tank is securely installed before operating it.I) Read and observe all the important notices on the appliance.J) If an extension cord is necessary, a cord with a proper rating should be used. A cord rated for less amperes or watts than the appliance rating may overheat. Care should be taken to arrange the cord so that it will not be tripped over or pulled.K) For added safety, the appliance must be plugged into a receptacle controlled by a GFCI (ground fault interrupter) circuit breaker. The device must be properly connected to a grounded three-prong receptacle.L) This appliance is intended FOR HOUSEHOLD USE ONLY.
Specifications
Specifications
- Compatible With: Aquatic Life G2 T5 HO Hybrid|EcoTech Radion|AI Hydra|AI Prime LED Fixtures
