
EUGENE G DANNER MANUFACTURING
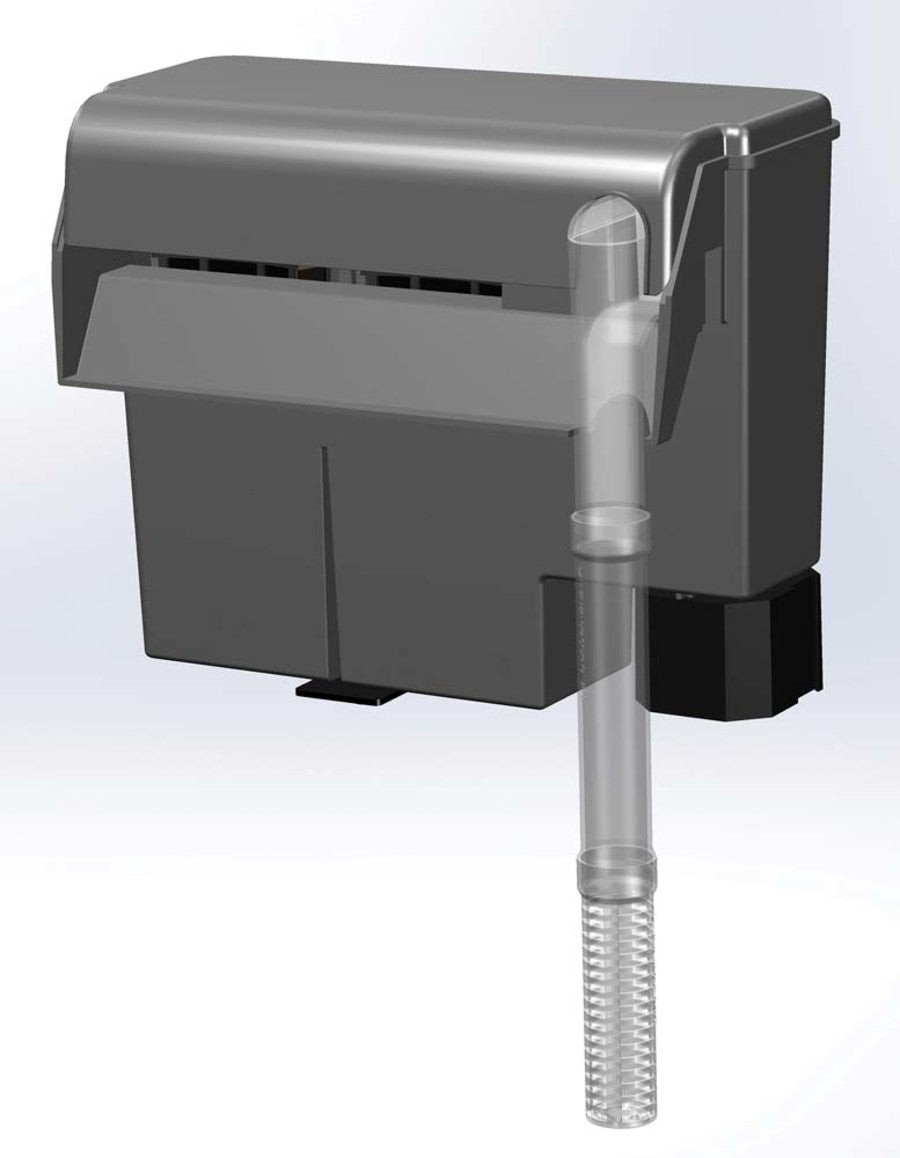
Danner EZ Clean External Aquarium Filter
SKU: PT0172501105Black, 1ea/150 GPH
Regular price
$61.01 USD
Regular price
$48.41 USD
Sale price
$61.01 USD
Unit price
per
Couldn't load pickup availability
Mechanical, biological and chemical filtration. Dual cartridge system with changeable media. Innovative water-change feature that uses the pump motor to remove water. No Need to purchase a separate siphon for water change. Built-in gravel cleaner powered by the filter motor. Includes tubing and a separate filter bag for use during gravel cleaning operation. For aquariums up to 55 gallons. Patent pending.
Dimension
Dimension
- Product Gross Weight: 4.7500 lb
- Product Net Weight: 4.7500 lb
- Product Height: 7.00 in
- Product Length: 9.00 in
- Product Width: 13.00 in
Instruction
Instruction
- Use Instructions: Assembly:1. Unpack filter. Make sure you have all parts listed on parts diagram. Inspect product for any damage. 2. Remove power unit from packaging and install in filter box. Turn filter box upside down so that the lip of the filter box faces forward. Position power unit so power cord faces forward. Push down on the power unit with a firm, even pressure so that 0 ring on power unit seats properly. Turn power unit counter-clockwise 90 degrees (1/4 turn) until it snaps into place.3. Attach the leveler to the opening on the bottom of the filter box. It has four positions to keep the filter level, adjustment will be made by rotating the leveler after the filter is in position on the aquarium-um frame.4. Carefully insert the impeller into opening on the mounted motor until it is seated at the bottom5. Impeller cover is shipped pre-assembled with a top section and bottom cover. Check that assembly is complete before installing. Align and place the impeller cover over the impeller until it is fully seated at the bottom of filter box.6. Assemble the intake tube onto the filter box. Tube must be aligned properly with impeller cover and be fully seated.7. Insert the intake cap with O-Ring into the opening at the top of the intake tube. Use a twisting motion while pressing downward until it is secure.8. Slide tube-lock into the slots in the If it does not slide into place the intake tube is not properly aligned and seated9. A attach the intake extension tube to the open end of the intake tube until snug10. Insert the filter cartridges into the slots on the inside of filter box. The cartridges should seat on all sides including the bottom. The cartridges should be placed so that the white polyester side faces into the filter box and the black carbonized material faces toward the aquarium.11. Place ceramic bio-media at bottom of filter box behind the filter cartridges. Media can be distributed loosely into filter box or remain in filter bags.12. Carefully cut flexible Vacuum/Drain hose into two equal lengths and set aside. This will be used for both gravel cleaning and drain functions.13. Assemble gravel cleaner as shown. Attach one of the gravel-vac tubes to the gravel-vac adapter. Insert the large tube connector into the remaining rigid tube and set aside for gravel cleaning in deeper aquariums.Operation with Filter Cartridge:1) Fill the filter box up to the spillway with water.2) The aquarium should be filled from 1/2 to 1-1/2 inches from the top. Plug the power cord into a receptacle following precautions. The filter should start automatically within approximately 30 seconds. Once operating place the filter cover onto the filter box.3) After operating for a few minutes, the unit should be checked for leakage. If there is leakage, inspect power unit to make sure it is installed correctly on the filter box. Care should be taken when removing or reinstalling power unit on the filter box, since there is an O ring seal on the power unit that can be damaged if it is not handled with care. Always check after adding water after installation.Operation: Gravel Vacuum1. Complete the assembly of the gravel cleaner attachment by inserting the Drain/Fill tube into the open end of the flexible Vacuum/Drain hose section that is connected to the gravel vacuum2. With filter on aquarium with motor running, remove filter cover. Insert the gravel vacuum support frame / filter bag assembly with tapered end down intothe tracks in the filter box as shown. The filter bag will collect large debris. The two large filter cartridges can be removed during gravel washing or left inplace for extra fine particle filtration.3. With filter motor still running, remove the vacuum cap from the intake tube and set aside. Lightly twist while pulling upward for easy removal. Do not lose the cap. Filter will make noise and water will stop running when cap is removed.4.1) Submerse the gravel vacuum rigid tube in the aquarium water up to the flexible hose in order to remove excess air4.2) Insert the drain tube into the opening on the intake tube of the aquarium until seated4.3) Once seated, tube will draw water into the filter within approximately 30 seconds. It is recommended to lay the flexible tube flat to speed up priming time.5. Plunge the gravel vacuum rigid tube into the gravel and slowly move about the gravel bed in a stepping motion. You will see the gravel debris going up the tube. If gravel accumulates in the tube, lift it and allow the gravel to fall out.6. Note that fine silt will pass through the filter bag and filter media and may cloud the aquarium. Once the filter is returned to normal filtration the water clear up.7. During the gravel cleaning operation the debris filter bag may clog up. Remove to a sink and backwash / rinse as needed. Repeat process as needed.8. When finished, withdraw the drain hose assembly, remove frame with filter bag and replace the drain cap to the top of the intake tube. Be certain that cap is fully inserted to seal the intake tube. Rinse the filter bag and put aside to dry for future use. Cover can be placed back onto filter case.Operation: Drain and Water ChangeDRAIN: You will need to supply a bucket to capture the water as it exits the aquarium. 1. Remove filter cover2. Position a bucket below water level near the aquarium3. Prepare the drain hose by connecting the two pieces of the vacuum/drain hose using the barbed hose connector. Attach the Drain/Fill tube to one of the open ends.4. Position open end of drain hose into a bucket. Position Drain/Fill tube over drain port on top of intake tube.5. With filter motor running, insert Drain/Fill tube down into the drain port opening on the top of the intake tube. The straight extension “flag” handle must be inserted to the bottom of the “U” slot to start water. Once bucket has filled enough for emptying, completely withdraw the Drain/Fill tube until it breaks the siphon and water stops flowing. Drain tube can be reinserted into “NO-FLOW” position while emptying bucket.6) Place a bucket of clean water next to the aquarium at approximately the same height as the aquarium. Remove the extension hose from the drain hose assembly and insert the open end into the bucket of clean water.7) Remove the cap from the intake tube and Insert the Drain/Fill tube into opening until it draws water from the bucket and directs it back to the filter spillway then back into aquarium. Repeat as needed.8) When finished, withdraw the Drain/Fill tube and replace the drain cap to the top of the intake tube. Be certain that cap is fully inserted to seal the intake tube. Replace filter cover and store the drain hose parts and bucket for future use.
Safety
Safety
- Caution: Close supervision is necessary when any appliance is used by or near children
- Safety Warnings: 1. If the appliance shows any sign of abnormal water leakage, immediately unplug from the power source2. Do not operate any appliance if it has a damaged cord or plug, or if it is dropped or damaged in any manner3. To avoid the possibility of the appliance plug or receptacle getting wet, position aquarium stand and tank to one side of a wall mounted receptacle to prevent water from dripping onto the receptacle or plug. A drip loop, at right should be arranged by the user for each cord connecting an aquarium appliance to a receptacle. The drip loop is that part of the cord below the level of the receptacle or the connector if an extension cord is used, to prevent water traveling along the cord. If the plug or receptacle does get wet, don't unplug the cord. Disconnect the fuse or circuit breaker that supplies power to the appliance. Then unplug and examine for presence of water in the receptacle.4. To avoid injury, do not contact moving parts or hot parts such as heaters, reflectors, lamp bulbs, etc.5. Always unplug an appliance from an outlet when not in use, before putting on or taking off parts, and before cleaning. Never yank cord to pull plug from outlet. Grasp the plug and pull to disconnect.6. Do not use an appliance for other than intended use. The use of attachments not recommended or sold by the appliance manufacturer may cause an unsafe condition.7. Do not install or store the appliance where it will be exposed to the weather or to temperatures below freezing8. Make sure an appliance mounted on a tank is securely installed before operating it9. lf an extension cord is necessary, a cord with a proper rating should be used. A cord rated for less amperes or watts than the appliance rating may overheat. Care should be taken to arrange the cord so that it will not be tripped over or pulled.
Specifications
Specifications
- Benefits: 1. Patented All-In-One Filter with Built-in Gravel Vacuum2. Dual Cartridge System with Replaceable Media3. No need to purchase a separate siphon for water change4. Gravel cleaner includes flexible tubing and mesh filter bag
- Compatible Tank size: 55 Gallons
- Cord Length: 72 Inches
- Filter Types: Biological; Chemical; Mechanical
- GPH: 150 Gallons
- Wattage: 12 Watts