
NORTH STATES INDUSTRIES INC
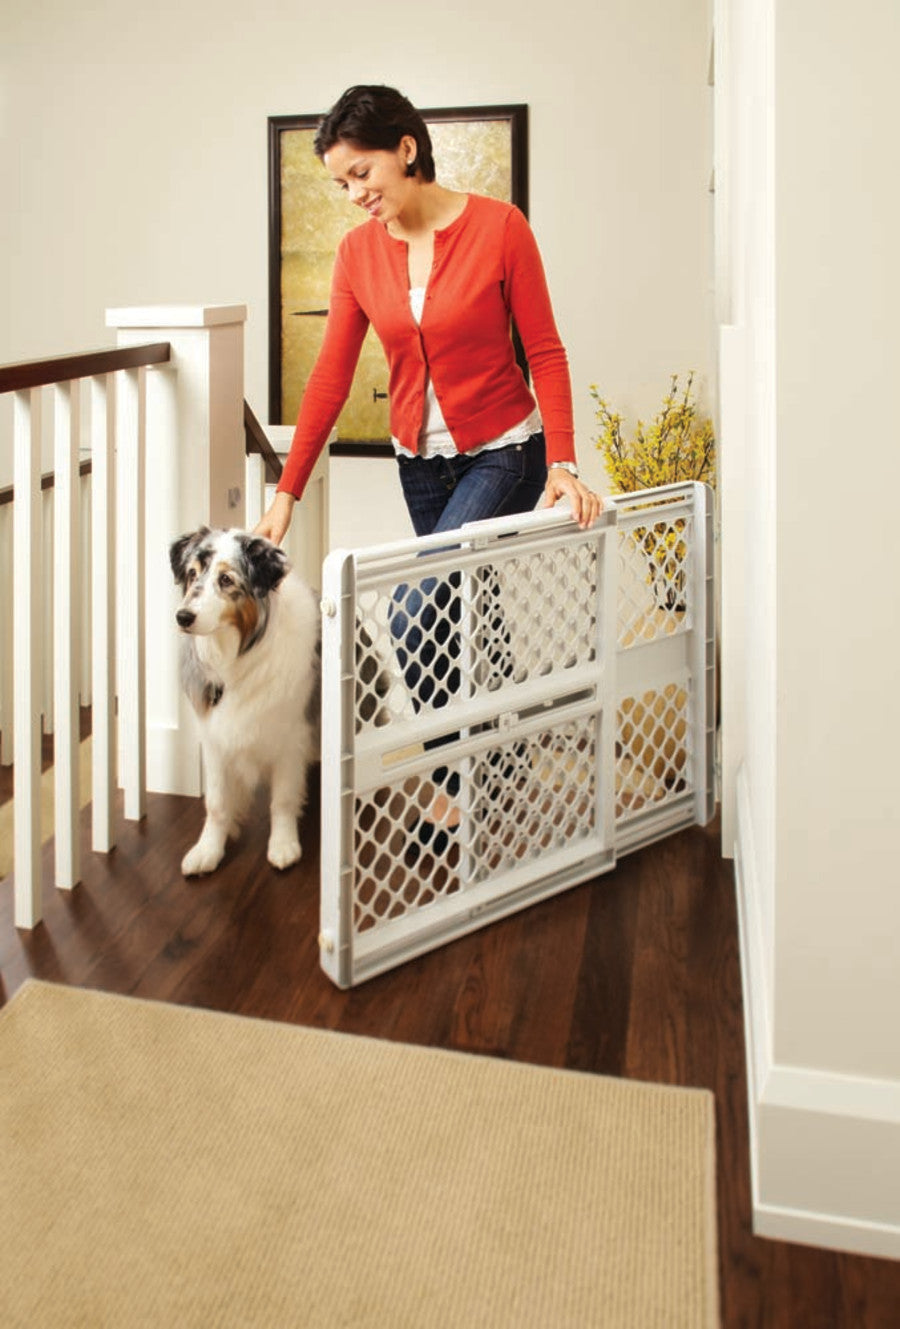
North States Universal Petgate
SKU: PT0122308625Light Gray, 1ea/26 in
Regular price
$40.01 USD
Regular price
$31.61 USD
Sale price
$40.01 USD
Unit price
per
Couldn't load pickup availability
Adjusts easily to fit openings 26in to 42in (66 cm - 106 cm) wide and is 26in (66 cm) high. Hardware or pressure mount. Includes all hardware for mounting as a swing gate, plus wall and rail sockets for extra security when pressure mounted. Easy to use expand gate in opening and engage pressure handle in any one of the multi-position slots. Rounded edges will not pinch.
Dimension
Dimension
- Product Gross Weight: 8.0000 lb
- Product Net Weight: 8.0000 lb
- Product Height: 3.00 in
- Product Length: 26.00 in
- Product Width: 42.00 in
Instruction
Instruction
- Assembly Required?: Yes
- Assembly Instructions: PRESSURE MOUNTINGSTEP 1: Place tape pads in recessed area of wall cups (door sockets).STEP 2: Place gate on floor and expand in the opening with handle on opposite side of area accessible to child. Be sure to adhere the wall cups (door sockets) to the opening wall or surface where the four bumpers touch. Remove the protective cover sheet from one of the wall cups (door sockets) and with the “U” upright, stick in place. Do the same on the opposite side. The gate should be mounted flush to the floor (or no more than 1 1/2” above the floor).STEP 3: Mount the gate by aligning the four bumpers in the wall cups (door sockets) and rotating the handle and locking it into the slot that gives you enough tension to secure the gate.STEP 4: To release the locking handle, press down on it lightly, twist it outwards, and pull gently away from the gate.HARDWARE MOUNTED:STEP 1: Hold the gate so the locking handle is on the opposite side of the area accessible to the child and determine on which side you want the gate hinges. Recess the gate at least 1 from the edge of the top stair.STEP 2: Slide both gate hinges onto the hinge side of the gate and fasten lower hinge with smaller screw provided (do not fasten top at this time).STEP 3: Fasten both the casement hinges to the doorway using the longer screws provided. Mount upper casement hinge with hinge facing down, mount lower casement hinge with hinge facing up.STEP 4: Determine the direction you desire the gate to swing. Gate to swing towards you—place bottom gate hinge onto bottom casement hinge using the hole in the hinge that is closest to you. Gate to swing from you—Use the hole in the gate hinge furthest from you.DO NOT ALLOW GATE TO SWING OVER THE STAIRS.STEP 5: Slide the gate hinge on the top of the gate up to the casement hinge and fasten the top gate hinge with the small screw provided. STEP 6: Place tape pads in recessed area of wall cups (door sockets).STEP 7 (for bumper spacing 21 3/8 apart): Remove protective cover sheet from one of the wall cups (door sockets), with U upright. Measuring from the bottom of the wall cup (door socket), place on a flat, even surface 3” above the floor. Mount second wall cup (door socket) 23” from the floor (measured from the bottom of the wall cups (door sockets). Screws, in addition to tape pads, may be used for added security. Use two longer screws provided.Warning: SCREWS ARE REQUIRED IF GATE IS INSTALLED OVER THE STAIRS.STEP 7 (for bumper spacing 17 3/8 apart): Remove protective cover sheet from one of the wall cups (door sockets), with U upright. Measuring from the bottom of the wall cup (door socket), place on a flat, even surface 5” above the floor. Mount second wall cup (door socket) 21” from the floor (measured from the bottom of the wall cups (door sockets). Screws, in addition to tape pads, may be used for added security. Use two longer screws provided.Warning: SCREWS ARE REQUIRED IF GATE IS INSTALLED OVER THE STAIRS.
- Use Instructions: To close the gate: Expand gate so the 2 bumpers fit in the wall cups (door sockets). Rotate locking handle and insert handle tab into the slot that gives you enough tension to secure the gate.To open the gate: Lightly press down on the locking handle, twist handle outward and pull gently away from the gate. Slide gate together and swing open.
- Care and Cleaning Instructions: Wash with warm water using mild liquid soap. Use a soft cloth to avoid scratching the gate. Rinse with clear water and wipe dry with a soft cloth. NOTE: Never use solvents, chemicals, scouring powders and sharp tools when cleaning the gate.
Safety
Safety
- Safety Warnings: Children have died or been seriously injured when gates are not properly secured. Always install and use gates as directed using all required parts.Stop using when a child can climb over or dislodge the gate.Install only with locking/latching mechanism securely engaged on side away from child.To prevent falls, never use at top of stairs without mounting hardware.Never use to keep child away from pool.This product will not necessarily prevent all accidents.Never leave child unattended.Periodically check all fasteners to be sure they are tight and secure, stop using gate if any parts are missing or become damaged.Do not attempt to use this gate in temperatures less than 40 degrees F (4˚C) or damage may result.This gate is to be used in openings 26” to 42” (66 cm to 106 cm) only.Hardware is included for use in solid materials only, such as wood or metal.
Specifications
Specifications
- Gate Expansion Size: 26 in – 42 in