RADIO SYSTEMS CORPORATION
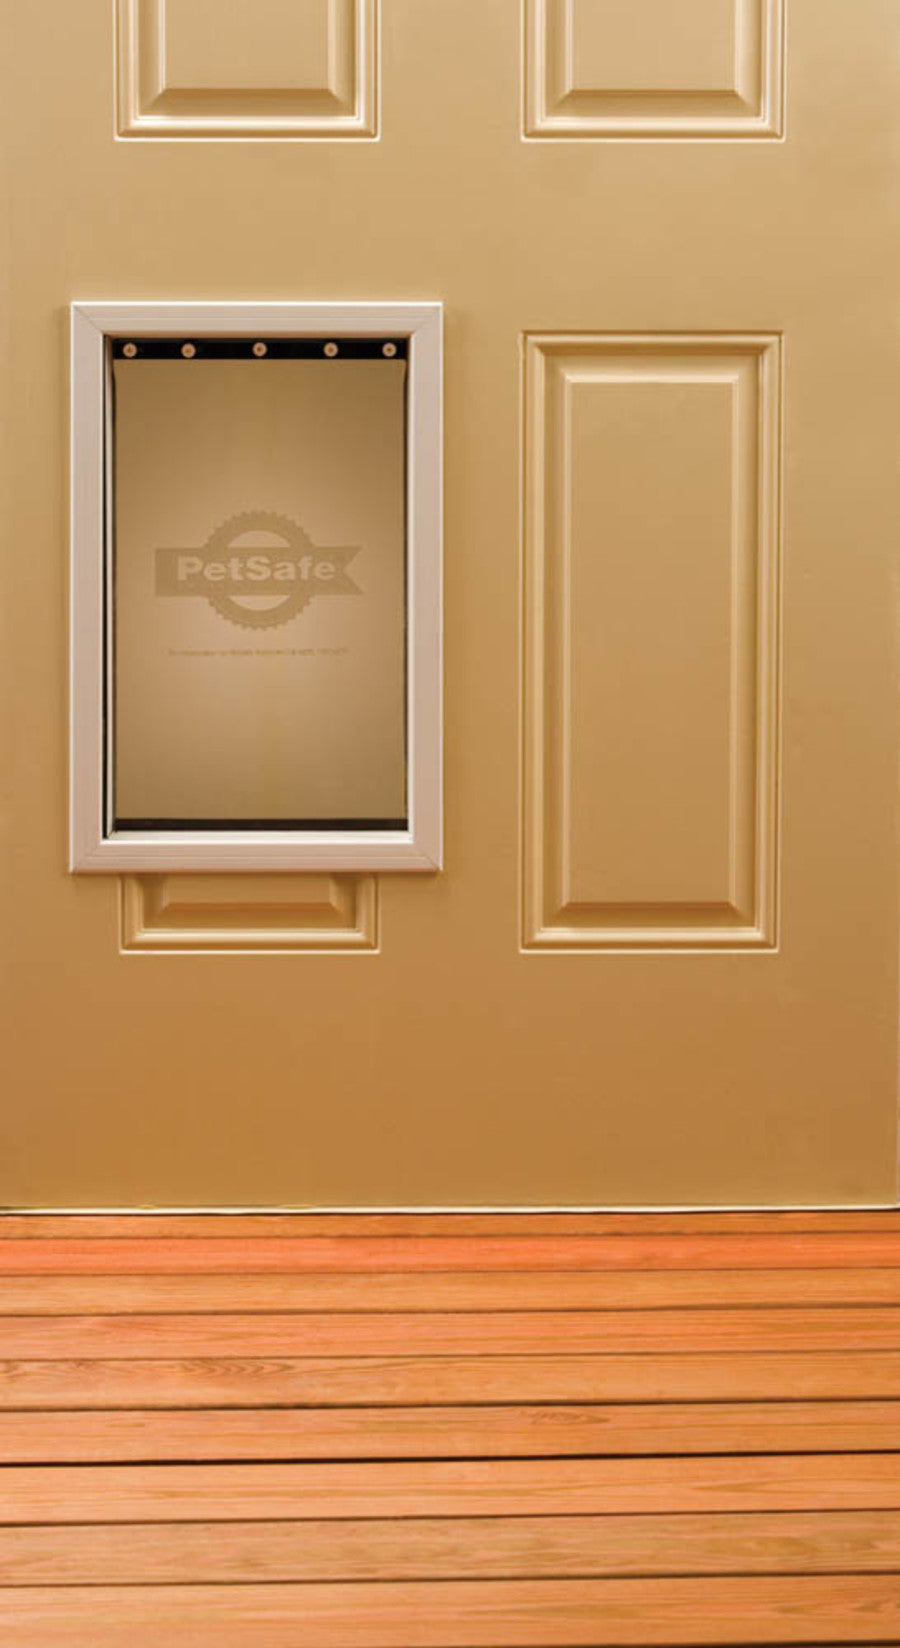
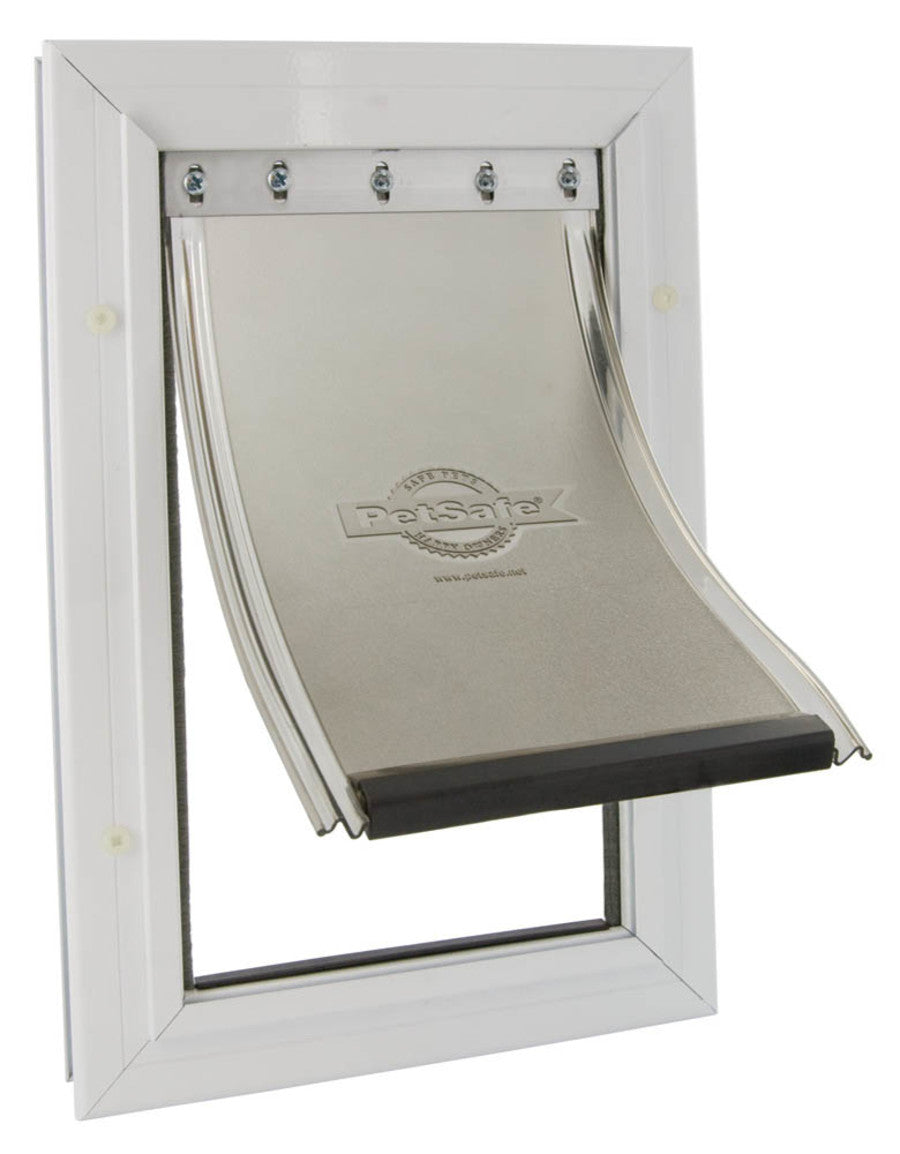
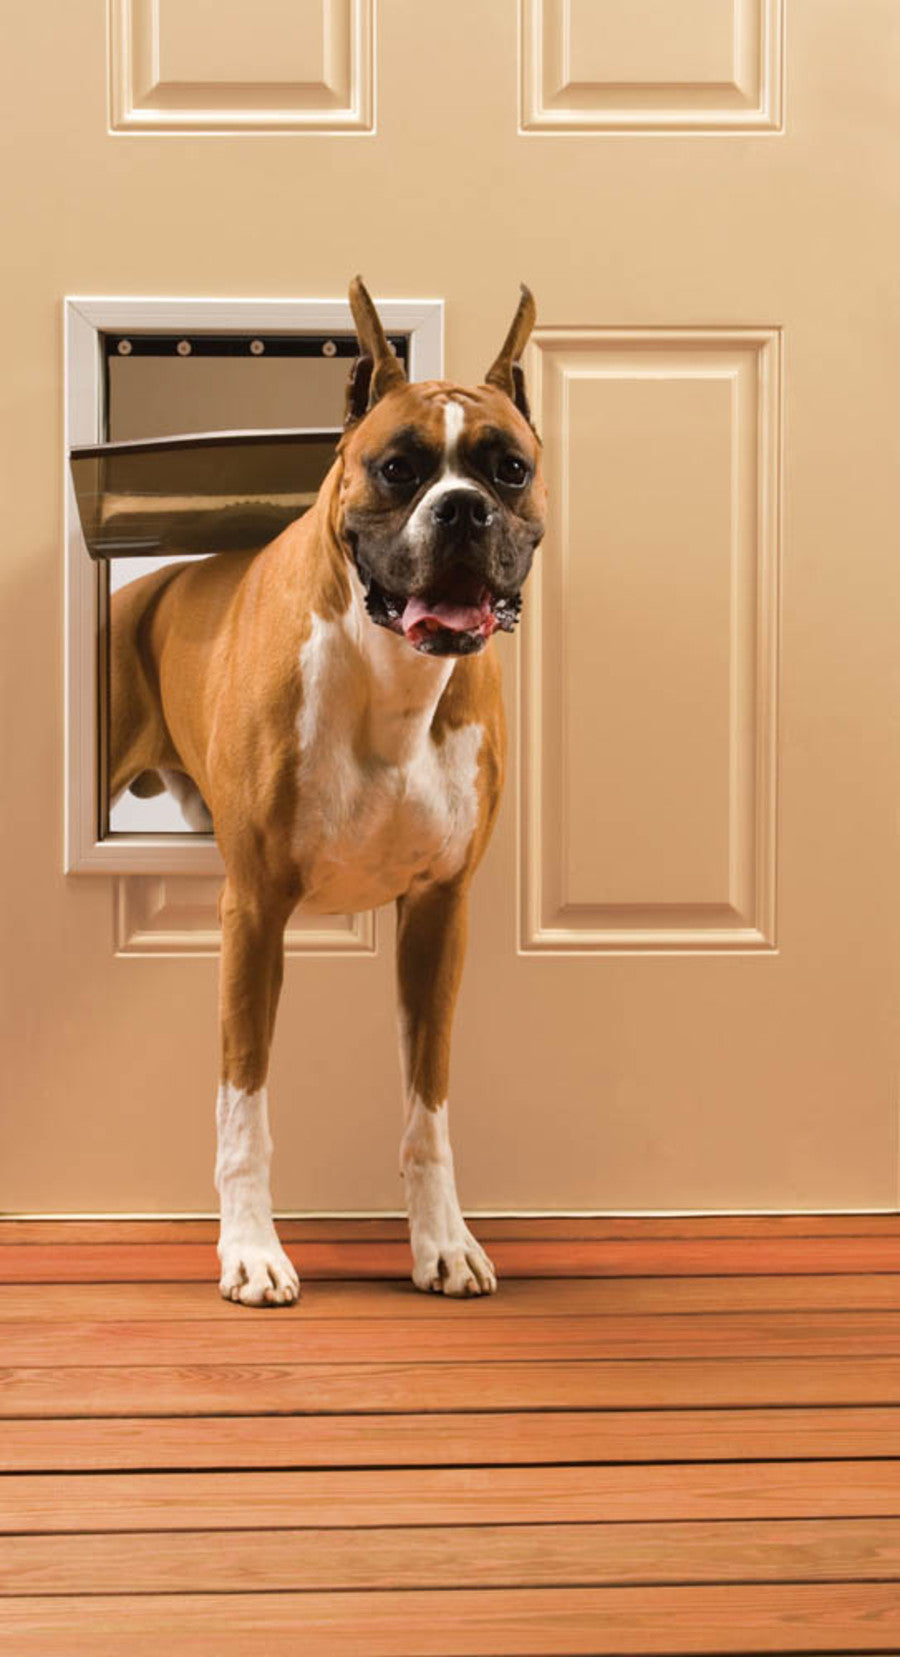
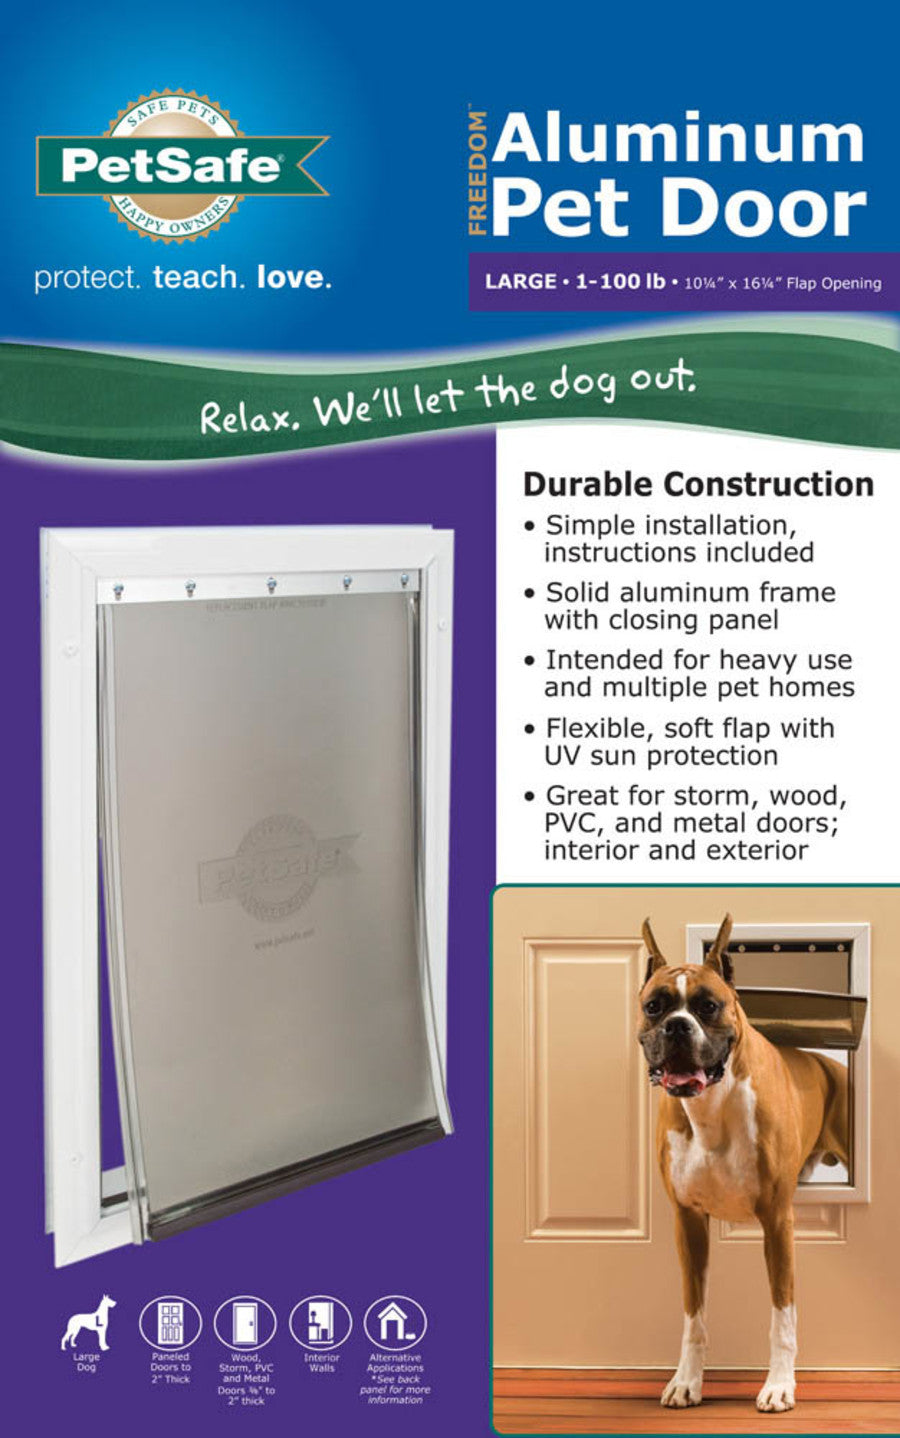
PetSafe Freedom Aluminum Pet Door
SKU: PT0137010861White, 1ea/LG
Regular price
$116.78 USD
Regular price
$93.02 USD
Sale price
$116.78 USD
Unit price
per
Couldn't load pickup availability
Freedom Aluminum Pet Doors give you no frills freedom for your pet. The doors are easy to install and offer strength and durability. If you think your door will get heavy use, or if you are blessed with a multiple pet home, then the Freedom Aluminum is the way to go.
Dimension
Dimension
- Product Gross Weight: 8.0000 lb
- Product Net Weight: 8.0000 lb
- Product Height: 12.88 in
- Product Length: 17.88 in
- Product Width: 7.50 in
Instruction
Instruction
- Battery Required: No
- Assembly Required?: Yes
- Assembly Instructions: 1. Determine Pet Door Location1A Measure and mark your pet’s shoulder height on the door.1B Determine location for the pet door. Draw a vertical center line through the shoulder height line using a level.2. Preparing Door2A Remove door from hinges.2B Place on a raised level surface such as saw horses.Helpful Tip: Clamp or weigh down the door to prevent it from moving.2C Cut out the correct template size. Match the marked lines on the door with the shoulder and center lines on the template. Tape the template in place and carefully trace template. Make sure to trace underneath tape and connect the corners. Now, remove the template and any excess tape from the door.3. Cut Pet Door Opening3A Drill ⅜” holes in inside corners of drawn template. These will be the pilot holes for the saw blade.Helpful Tip: Use both hands to hold drill steady and straight at a 90° angle.3B Beginning in one of the holes you just drilled, cut along the drawn template lines. After cutting out the opening, you may need to recut to square opening. This is necessary for the pet door frame to fit correctly.Helpful Tip: Use a proper saw blade according to door material (for example a wood blade for wood door and metal blade for a metal door). When cutting useboth hands to hold the saw slow, steady and straight at a 90° angle. This will prevent the blade from cutting unevenly between interior and exterior areas of door.4. Mark & Drill Holes For FrameBefore putting away the jigsaw, place the interior frame (frame with the flap) inside the cut out and check the fit. Then, place the exterior frame into the underside of the door to check the fit. If frames do not fit inside the opening, you may need to recut to square opening before proceeding with installation.4A Hold the interior frame (the frame with the flap) in position. Mark the screw holes.4B Remove the interior frame and drill ¼” holes.Helpful Tip: Use both hands to hold drill steady and straight at a 90° angle.5. Install Pet DoorHelpful Tip: Tape the flap up to keep it out of the way during the installation.5A Optional: Depending if your door is 1” thick or less, break away core frames of the interior and exterior frames. Use pliers to slowly and steadily bend down small sections across frame at grooved line. Go across the frame again in the same direction working the excess frame into a 90º angle. Next go back across frame in the opposite direction to slowly break off the excess.5B Place interior frame (frame with the flap) in cutout. Next place exterior frame into cutout from underside of the door. Hold frame pieces together with one hand.5C Drop nylon screws through holes in frame and match screw sleeve to bottom side of each screw. Pull up screw to position screw sleeve flush into exterior frame. While continuing to hold frames, tighten screws until frames come together.5D Use a screwdriver to evenly tighten screws throughout frame. It may be necessary to adjust screws to make sure pet door fit is correct.5E Cut off excess screw length with wire cutters. Hold wire cutters flush with frame for a clean, level cut.Helpful Tip: Any rough edges of nylon screws left by wire cutters can be removed with a metal file.6. Train Your Pet6A Rehang your door and begin training your pet. Tape the flap open to help your pet become familiar with the opening.Helpful Tip: Try treats to encourage your pet to go through the pet door and become comfortable using it.
Safety
Safety
- Caution: The user, prior to installation, must become familiar with all building codes that may affect the installation of the pet door and determine, along with a licensed contractor, its suitability in a given installation. This pet door is not a fire door. It is important for the owner and contractor to consider any risks that may be present inside or outside of the pet door, and any risks that may be created by subsequent changes to your property and how they may relate to the existence and use, including misuse of the pet door.
- Safety Warnings: When children are present in the home, it is important to consider the pet door during child proofing activities. The pet door may be misused by a child, resulting in the child accessing potential hazards that may be on the other side of the pet door. Purchasers/homeowners with swimming pools should ensure that the pet door is monitored at all times and that the swimming pool has adequate barriers to entry. If a new hazard is created inside or outside of your home which may be accessed through the pet door, Radio Systems® Corporation recommends that you properly guard access to the hazard or remove the pet door. The closing panel or lock, if applicable, is provided for aesthetic and energy efficiency purposes and is not intended as a security device. Radio Systems Corporation will not be liable for unintended use and the purchaser of this product accepts full responsibility for oversight of the opening it creates.
Specifications
Specifications
- Compatible With: Interior and exterior doors between 3/8 inches and 2 inches thick
- Locking Mechanism: Yes
- Locking System: Slide-in
- Maximum Animal Weight: 100 Pounds
- Opening Height: 16.25 Inches
- Opening Width: 10.25 Inches
