PREVUE PET PRODUCTS INC
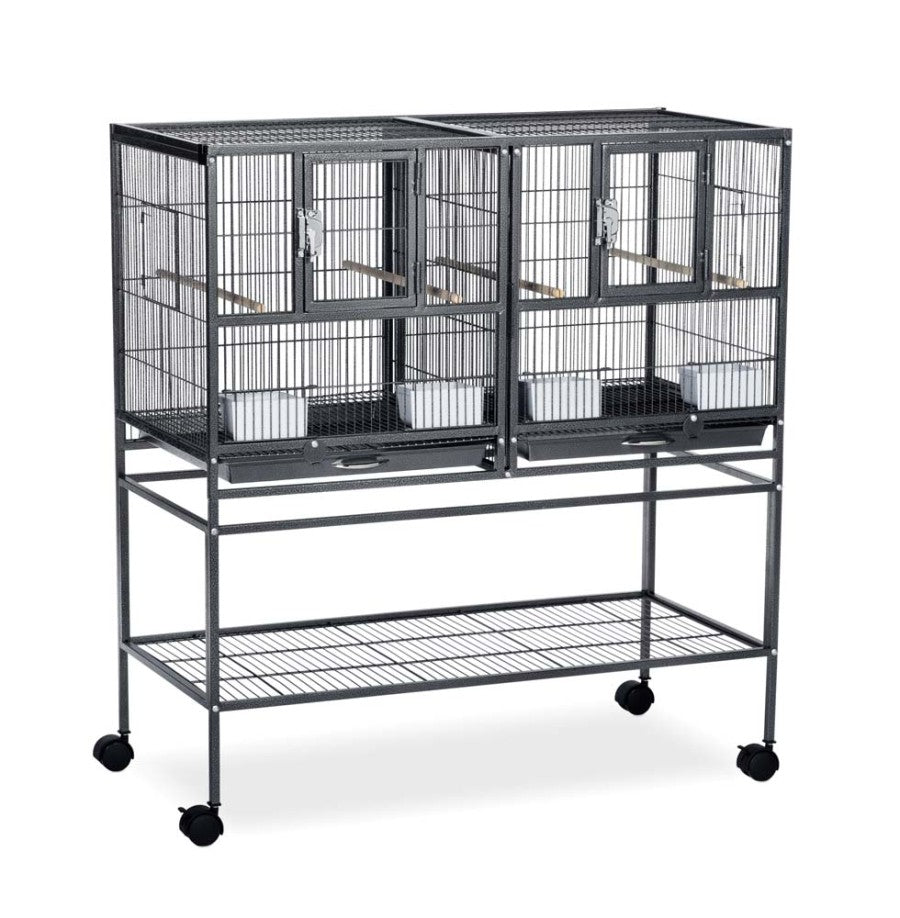
Prevue Pet Products Hampton Deluxe Divided Breeder Bird Cage with Stand
SKU: PT0160000070Black Hammertone Finish, 1ea
Couldn't load pickup availability
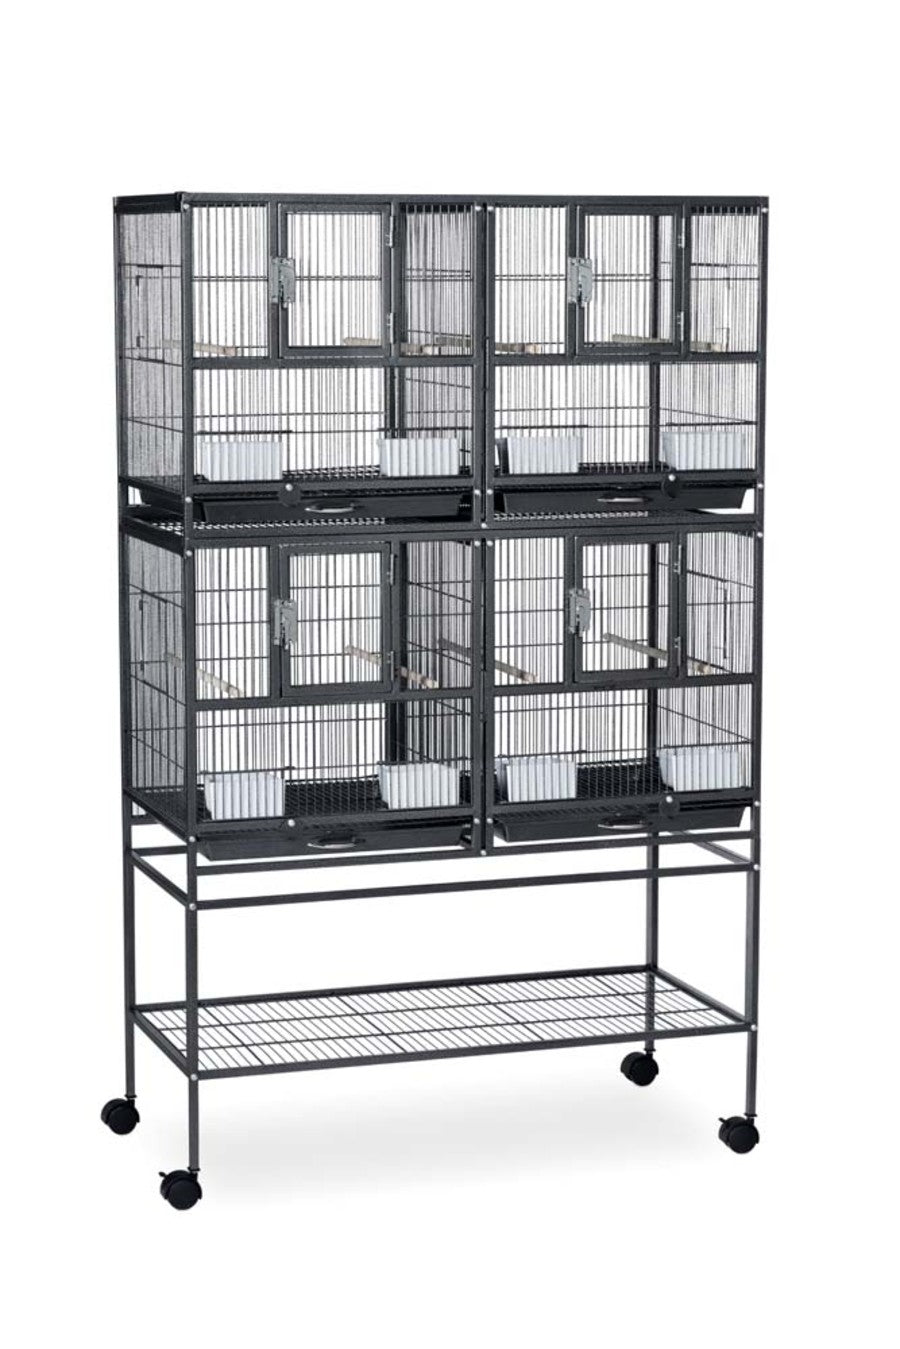
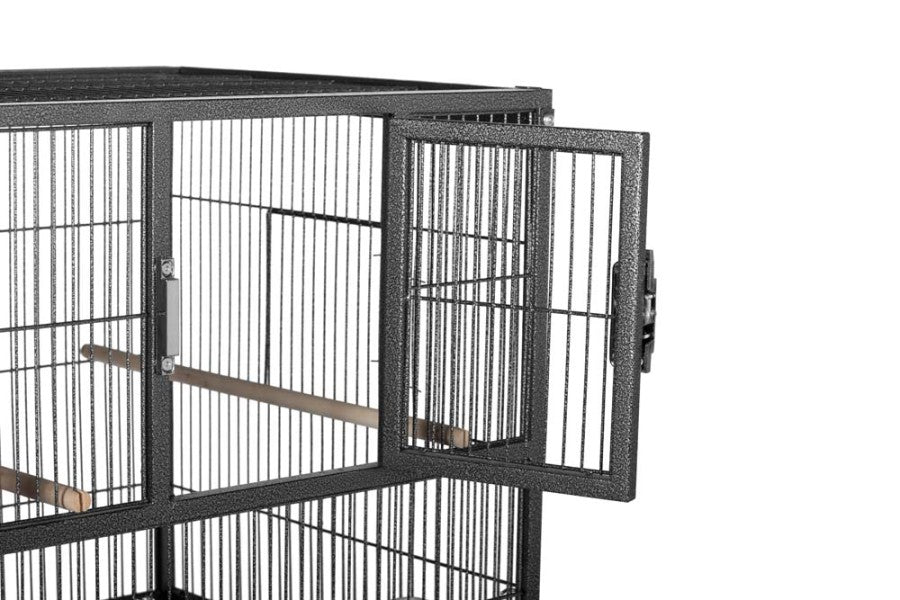
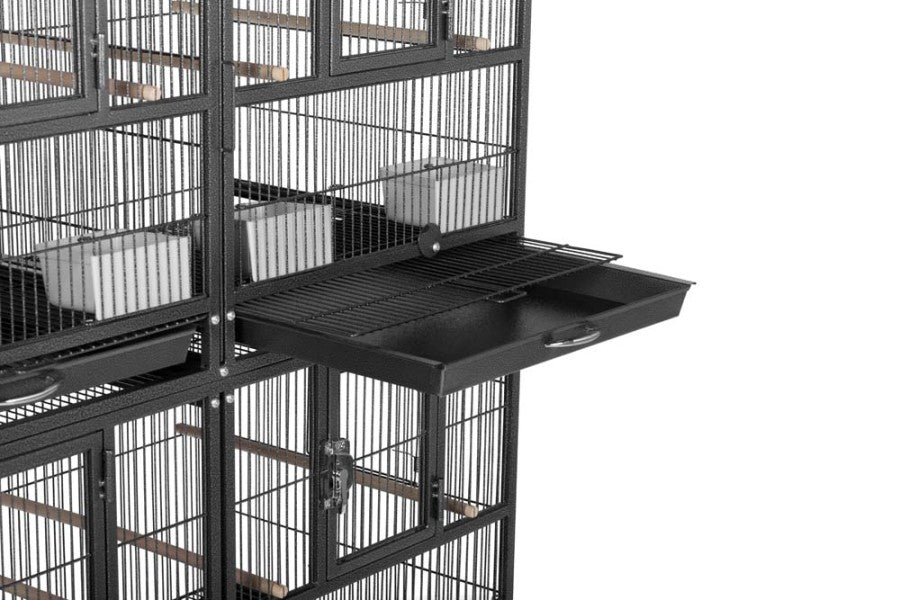
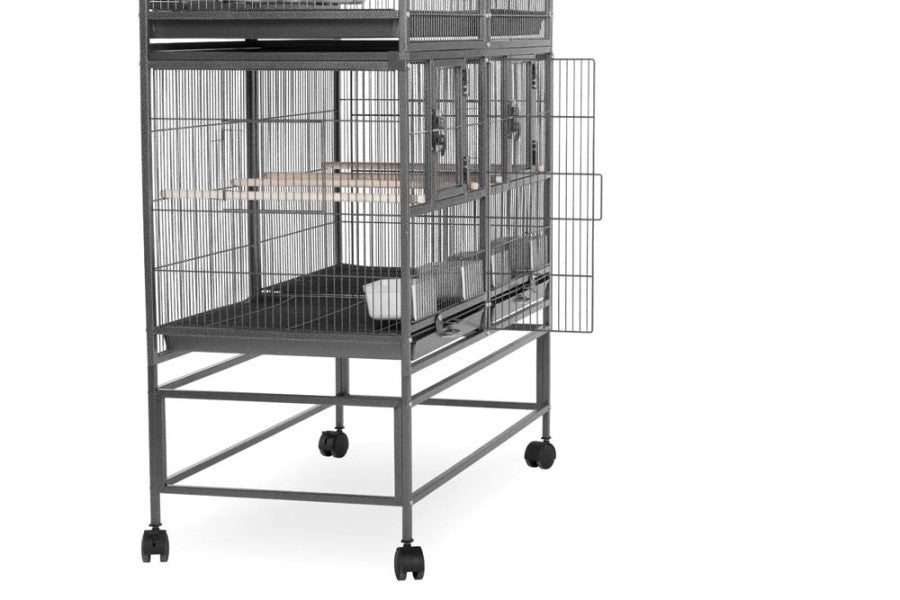
Prevue Pet Products Hampton Deluxe Divided Breeder bird cage System with Stand F070 in Black Hammerstone offers quality wrought iron construction with convenient built-in features. Use the included divider to create two separate, smaller bird cages or remove divider to use as one large bird cage. Each bird cage system contains two front doors with secure locks, side nesting doors and pull out trays and grilles complete with wind bell lock. Ideal for multiples of small birds such as canaries, finches and parakeets. Four perches and four plastic cups are also included. Spacious enough for use as an independent unit, you can also combine your Hampton Divided Breeder bird cage System with Stand with our stackable Hampton Deluxe Divided Breeder bird cage F075. Both bird cages are available exclusively in an elegant Black Hammer tone powder coat finish. Cage measures 37 1/2 Long, 18 Wide and 20 1/2 High (40 ¼ High on stand) with ½'' wire spacing.
Dimension
Dimension
- Product Gross Weight: 39.0000 lb
- Product Net Weight: 39.0000 lb
- Product Height: 20.50 in
- Product Length: 37.50 in
- Product Width: 18.00 in
Instruction
Instruction
- Assembly Instructions: 1. To assemble the STAND:INSTALLATION TIP : Use the allen wrench to keep the plastic connector from going too deeply into the frame, and to align the holes in the post and framea. Insert the plastic connectors into the top of the stand frames. (see INSTALLATION TIP above)b. Align the bottom hole of the connector with the hole on the frame legc. Attach the stand frame sides to the front and back frames with a hex screw in each top corner. LEAVE SCREWSLOOSE...d. Insert the extended wires on the storage shelf into the holes on the lower front and back frame railse. Secure the bottom portion of the stand frame with a long hex screw in each cornerf. Tighten the screws in fully. Then tighten the top screws in fully.g. Once the stand frame has been assembled and all screws tightened, insert the rolling casters into the base of the frame legsh. Position the two locking casters where you find them best suited for your expected use2. To assemble the CAGE BODY:a. Turn the front panel and right side panel (with grille/tray channels facing the cage interior) upside downb. Guide the extended wires on the side panel into the holes on the frame of the front panelc. Secure the panels together with a hex screw in each cornerd. Add the back panel and left side panel in the same method, securing all panels together with a hex screw in each corner3. To assemble the CAGE BODY:a. With the cage body still upside down, install the two tray channel rails. Orient the channels as shown in the detail. Secure the channels with hex screws.b. Install one of the three square rails. Secure the rail with hex screws.c. Install the two remaining square rails. Secure the rails with hex screws.4. To add the ACCESSORIES:a. Insert the slotted ends of the perches on a vertical wire and resting on a horizontal wire or frame railb. Slide the cup doors up and insert the food/water cups. The closed door holds the cup in place.c. Rotate the grille/tray lock out of the way and slide the grill into the top channels and the tray into the bottom channels for each cage side leave the center divider grille out for full-cage use, or slip it in place to divide the cage interior into two separate spaces5. To add the ROOF and endcaps:a. Set the roof panel into placeb. Back the corner screw out and slip a corner bracket over the corner as shown in the detail. Tighten the screw to secure the bracket on the corner.c. Repeat the method for all corners to fully secure the roof in placed. Tap the endcaps into each cornerâ top and bottomâto finish off the assembly
Safety
Safety
- Safety Warnings: Inspect the product periodically and remove from use if it becomes worn or damaged
Specifications
Specifications
- Bird Cage Access Doors: 4 Count
